Volleyball is one of the most popular and fun sports suitable for indoor and outdoor games. Setting up the volleyball net is a straightforward procedure when you have all the equipment at hand, including two poles, a net, and if available, the antennas. So, let’s find out how you can easily set up a volleyball net in different settings.
In this guide, I’ll offer a detailed outline of the steps to follow when setting up a volleyball net, including indoors, in your backyard, and at the beach. Keep reading to get tips and hacks on how to do it like a pro.
Here are the steps to follow when setting up the volleyball net indoors:
- Remove the floor plates.
- Insert the poles.
- Adjust the pole’s height.
- Attach the volleyball net.
- Tighten and secure the net.
- Attach the net straps.
- Set up the antennas.
If you would like to shop for a volleyball net, check out our recommended nets.
Setting Up an Indoor Net
Here’s an overview of how to set an indoor volleyball net. This is written as if the net is being installed into floor sockets within the floor of the gym. If you have mobile posts, obviously you would simply roll or slide those into position wherever the posts should be and skip steps 1 and 2.
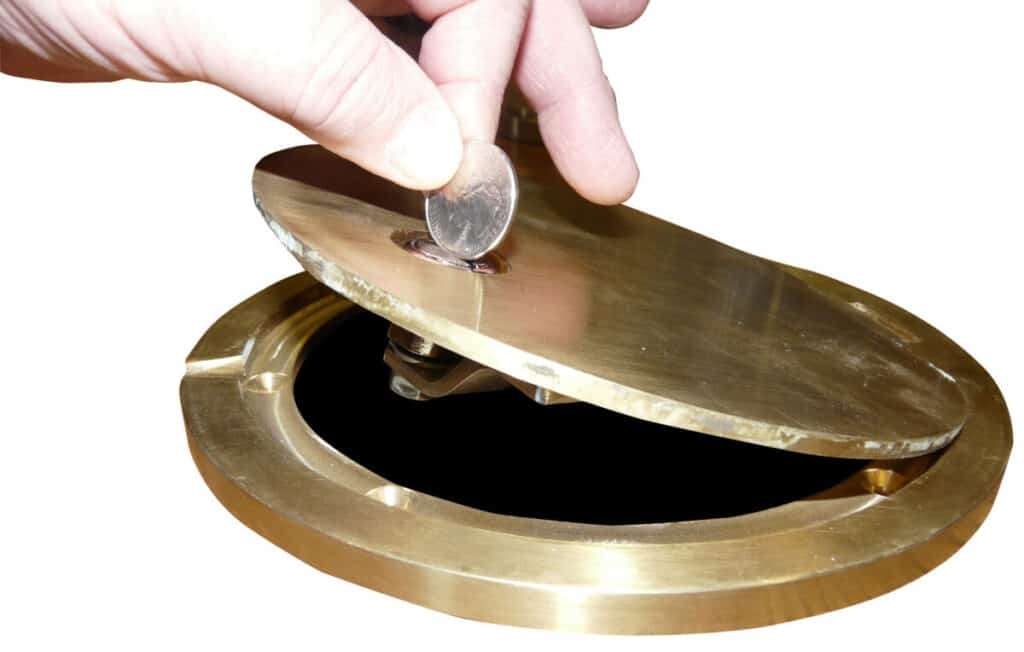
1. Remove the Floor Plates
Floorplates help to secure the volleyball nets in many indoor settings. Before getting started on your setup, you need to first locate the holes on each floor plate and remove the respective plate covers. You can use a coin, a flat head screwdriver, or a knife to remove the lids (plate covers).
After removing the plate covers, ensure the holes are free from dirt and other debris.

2. Insert the Poles
Hold the pole in an upright position and carefully and gently drop it into the sleeve or socket. Repeat this step to insert the second pole. The poles should fit firmly and perfectly into place and remain in an upward posture as long as the holes are free from dirt or debris.
Some manufacturers provide pole safety pads to enhance the players’ safety and help secure the poles. If these are available you can wait until the end to attach these.
3. Adjust the Pole’s Height
After securing the poles in place, the next thing is to adjust them according to the preferred net height, which will depend on the type of poles you’re using. For instance, some poles require that you twist them at the bottom to either lower or raise the height, while others have metal pins or notches.
Others, for example, have markings for men’s, women’s, and juniors’ heights, making the adjustment process easy. The net’s height will depend on the kind of players using it.

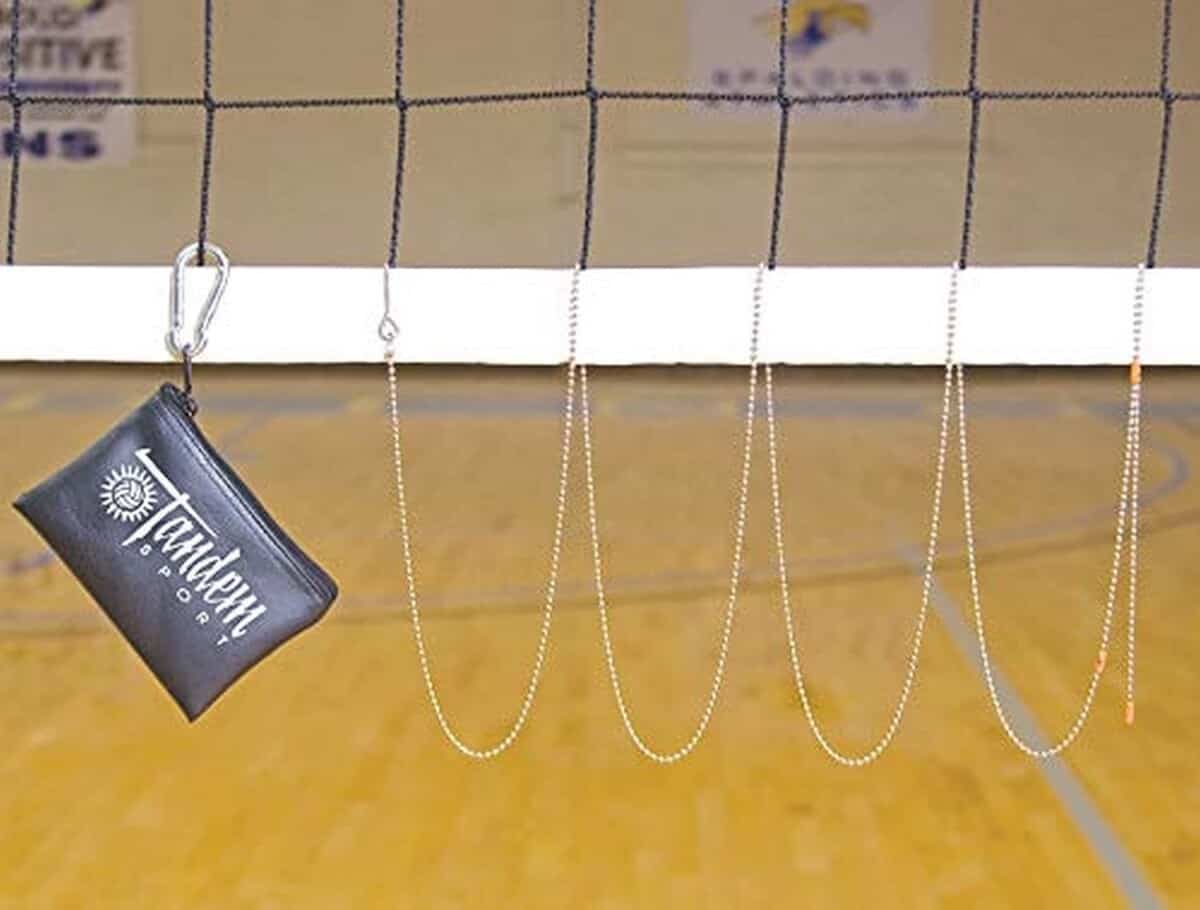
If you question the height of the net, a simple inexpensive tool that can be quite handy is called a “net setter.” This is a chain that has a hook on one end that you hang on the top of the net and it dangles to the floor to measure the height. Here’s a link to the net setter we recommend from Amazon.
Check out this guide on the recommended net height for different players.
4. Attach the Volleyball Net
Unroll the net and stretch it between the poles. If the net is tangled or twisted sometimes it’s easiest to attach one side and unravel it toward the other post.
Then, find the pole hooks, mainly found on the lower side of each post. Tie the net ropes to the pole hooks on each side and then thread through the winch leader strap. The winch leader strap is a strap that has a metal connector hanging on each side of the poles. Always focus on the top of the net first and worry about the bottom after the top is secure and tight.
5. Tighten and Secure the Net
To tighten and secure the net, turn the handle of the winch leader strap clockwise to tighten the net to the preferred height. The center height should be in line with the stipulated guidelines for different player groups.
6. Attach the Net Straps
With the net set at the recommended height, it’s now time to attach and tighten those loose net straps. The straps are those hanging, one from the middle and the other at the net’s bottom. Begin with the bottom and finish by securing the middle.
Take these loose net straps and fasten them on the poles. Ensure that the straps are tight, lie horizontally, and parallel to the ground.
Tightening loose net straps reduces any risk of injury around the net during the game. They also give the net enough tension so that the ball will bounce back off of it during play instead of simply dropping straight to the floor.
7. Set Up the Antennas
Antennas are important in official volleyball games as they aid in identifying fouls and marking out-of-bound lines vertically on and above the net.
You should position the antennae directly over the sideline and securely hold it in place using clips or straps, depending on its design. Place the antenna’s top hook over the net and attach it, then secure the lower position by slipping the rope into the clamp or a clip, depending on the manufacturer.
There you go, your volleyball net is now ready for use!
You just need to set aside a few minutes of your time and remember it’s always WAY easier to do this with several helpers.
Setting Up a Backyard Net
Now, let’s look at how to set up a volleyball net in your backyard.

1. Measure and Mark the Play Area
Most volleyball outdoor setup systems have pre-measured boundary cords with pole markers and four corner anchors. If you don’t have such a cord, the court should be 60 ft (18 m) long and 30 ft (9.1 m) wide.
To mark the playing area, unwind the boundary cord onto the level ground. You want the level ground to prevent injuries and keep the ball from rolling every time the rally ends.
Grab a corner marker and place it in a preferred spot. Locate the second marker and repeat the steps for the remaining corners. Then, mark the position at the middle of the court for the two poles.
2. Unroll and Position the Volleyball Net
With the pole positions marked, it’s now time to position the net.
Unroll your volleyball net and stretch it across the middle of the court. Then, place each pole in the position you initially marked on the boundary lines on each side.
Slide the net sleeve carefully over each pole. When sliding the net, be sure to read and follow the manufacturer’s instructions because each net is different.
3. Adjust the Post Height
Most poles have pre-marked indicators for different net heights; some posts have buttons, while others have switches to help with the adjustment. Therefore, you should adjust each post according to your preferred height.
Your height setting should comply with the recommended guidelines as the playing teams, i.e., whether males or females, juniors or physically challenged.
4. Make the Guy Line Attachment
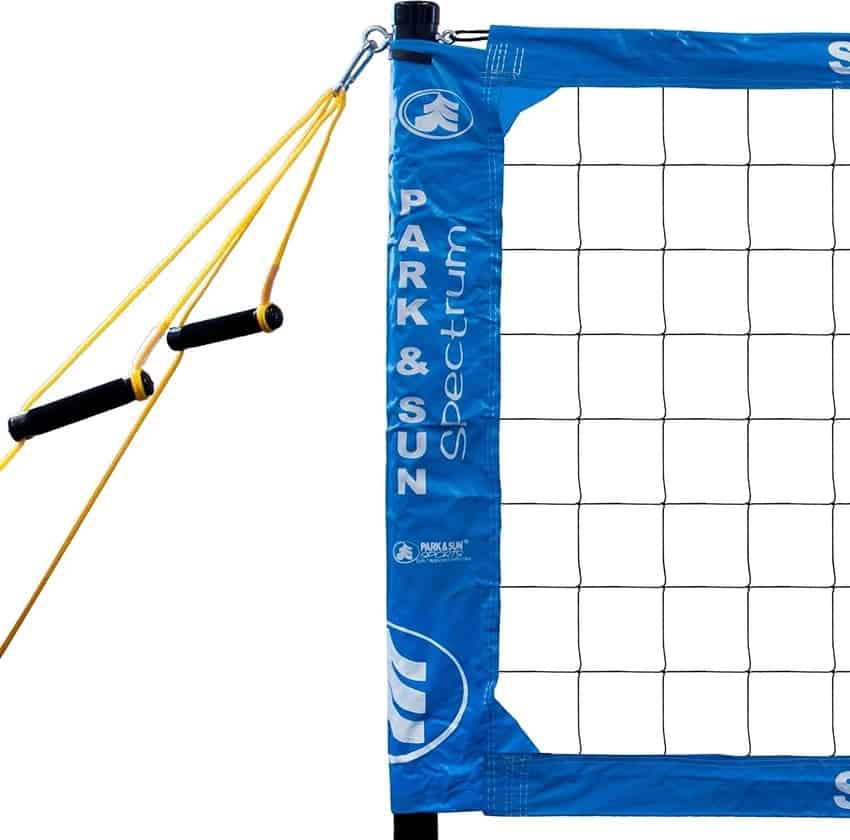
Connect the swivel clips to the top of the outside pole on the larger eye. A swivel clip is a metallic hook that attaches the guy lines (two strong and thick ropes). Extend the guylines outward at 45 degrees or 8-12 ft (2.4-3.0 m) apart.
5. Insert the Ground Stakes
Each guyline has a loop for a ground stake. Therefore, insert the stakes at a 45-degree angle to the court through the loops into the ground for maximum support. You can use a rubber mallet or something similar to drive the stakes into the ground.
6. Set the Poles
With everything in place, including the guylines, ground stakes, and perfect height setting, the final step is to loft or set up the poles.
Lift the first pole and position it upright as supported by a guyline. Repeat the steps for the second pole and pull down the guyline handle to straighten the net. To provide maximum tension, adjust both poles until they are straight and centered.
Now go ahead and enjoy the game!
Setting Up a Sand (Beach) Volleyball Net
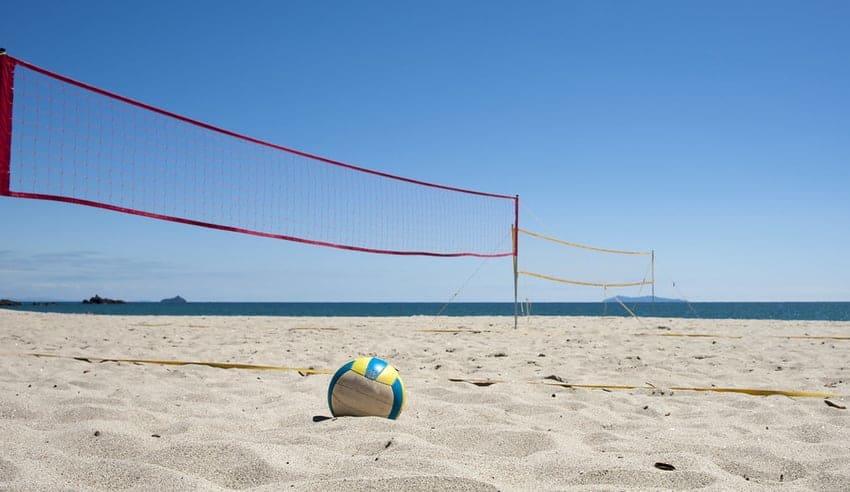
The setup procedure for a volleyball net at the beach is almost identical to the indoor setting. However, the sand replaces the floor in an indoor setting, so there will be no floor plates.

In many cases, you’ll have the posts or even the whole net already set up at the site where you’re playing. You may just need to lay out the boundary markers to outline the court.
Here’s how you lay the boundary markers:
- Dig a small hole in each of the four corners of the volleyball court.
- Bury the pole anchor in each corner, but let the rope be accessible above the sand.
- Connect the boundary markers along each sideline and tighten them. Most systems have a ratchet-style adjustment, don’t over-tighten. To straighten the lines out, simply pick up the middle, line it up and let it fall straight.
After setting up the boundary markers, proceed to set up the rest of the net as needed:
- Dig two holes at the designated spots for the poles.
- Set up the poles and adjust their height. (Use guy lines and stakes if needed).
- Attach the volleyball net.
- Tighten and secure the net.
- Attach and fasten the net straps.
- Set up the antennae if available.
Out-of-Bounds Lines for Beach Volleyball
There are no three-meter or attack lines in beach volleyball. Your only concern is the outer boundary of the out-of-bounds lines.
The ball is out of bounds if it lands on the area or objects outside the boundaries. In contrast, the ball is in if it touches any line or part of the court.
How High Should My Volleyball Net Be?
The height of your volleyball net will depend on the group of players who’ll be playing on the court. Below are the standard sport’s regulations for volleyball height.
The stipulated net heights for different volleyball players are:
- Men’s: 7’, 11” (2.43 m)
- Women’s: 7’, 4” (2.24 m)
- Juniors: 6’, 6” (1.98 m) to 7’ (2.13 m)
- Seniors: 7’ 2” (2.19 m) to 7′ 6″ (2.29m)
- Physically challenged: 3′ 5″ (1.05m) to 4’ 11” (1.5 m)
Do you have questions about the rules of volleyball revolving around nets? We have a complete list of volleyball net violations to explain them all in a simple way.
Conclusion
Whether you’re playing indoors, in your backyard, or at the beach, volleyball is a fun sport. And setting up a volleyball net doesn’t have to be overwhelming. The guidelines in this article will come in handy when setting up a volleyball net in any playing area.
Sources
- Wikihow: How to Hang a Volleyball Net
- Sports Imports: How to Setup a Volleyball Net System
- YouTube: Park & Sun Sports Spectrum Classic: Portable Professional Outdoor Volleyball Net System Instructions
- UCSB.edu: IM VOLLEYBALL RULES
Photo Credits
Feature image by White & Blue Review on flickr.com: https://creativecommons.org/licenses/by-nd/2.0/
Beach volleyball nets image by Photographer brianscantlebury.com on flickr.com: https://creativecommons.org/licenses/by-sa/2.0/
Recent Posts
Athletes, listen up! Do you have a closet full of old jerseys, sweatpants, and tees that you just can't seem to part with? Well, dust them off, because you're sitting on a goldmine of fashion...
You may have heard, or you may have noticed, that there's been a change to the rule about double contact in volleyball. In 2022, an experimental rule change began to be implemented, where the double...
